Author Archives: markn

About markn

Mark is the owner and founder of Timesheets MTS Software, an mISV that develops and markets employee timesheet and time clock software. He's also a mechanical engineer, father of four, and a lifelong lover of gadgets.

    Find more about me on:
  • googleplus
  • linkedin

Brew Day 13 Reddit Collaboration APA Batch 2

Last brew day I made a short boil no chill version of a collaboration brew that was suggested on the /r/homebrewing on Reddit. You can read the full report of that day here. It turned out beautifully and for the first time I felt like my usual 12.5L brew size was too small as I drank through most of the delicious hoppy APA far too quickly. Planning was put inplace to brew another batch but and my lovely partner splashed out on a fantastic 33L stainless steel boil kettle for me so I seized the opportunity to make a bigger batch of 20 liters. I cracked out my handy brew in a bag spreadsheet, scaled the recipe up and arrived at the following:

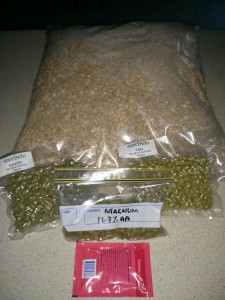
Ale Barret Burston 2 Row 3.26kg
Ale Maris Otter 0.93kg
CaraPils 0.22g
Caramalt Malt 0.22kg
Oats, Flaked 0.22kg

Magnum 14g (12.7%AA) @ 30 minutes
Amarillo 8g (9.5% AA) @ 5 minutes
Citra 8g (13.2% AA) @ 5 minutes
Amarillo 15g @ Flameout
Citra 15g @ Flameout
Amarillo 40g Dry Hop 3 days
Citra 35g Dry Hop3 days

British S04 Ale Yeast

Brew Type : 20L All Grain (BIAB)

OG: 1.054
FG: 1.015
ABV: 5.6%
IBU: 23.2
EBC: 11.4

As this is a no-chill brew again I’m treating the flameout additions as 10 minute additions meaning that the 23.2IBU is low and it’s likely that this beer will be 40-45IBUs. Other changes include using harvested S04 yeast instead if US05, and toning down the dry hopping somewhat because, well, hops are expensive.

Mashing In

Mashing In

Post Mash Gravity

Post Mash Gravity

S04 British Ale Yeast Starter

S04 British Ale Yeast Starter

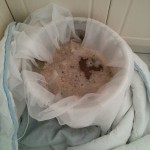
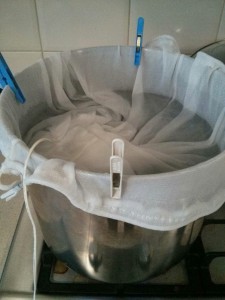
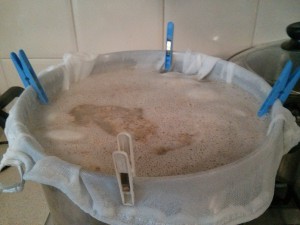
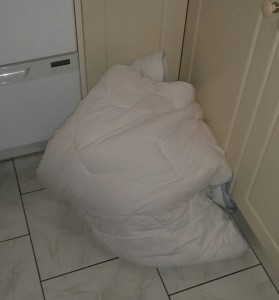
As usual I shot for a 60 minute mash, I chose 20L of strike water heated to 72C to which I added my grain. Rather than use a brew bag I used 4 square meters of white Swiss Voile fabric. I hit the strike temperature exactly in my shiny new 33L pot, added the grains, stirred for a few minutes before putting the lid on and wrapping up the pot in an insulating doona. There it sat for an hour varying very little from the initial mash temperature of 69.6C, dropping just 1.6C to 68.0C. It’s at this point where I started to mess things up. The first mistake (I think) had already happened as I hadn’t mixed the mash at all during the hour of rest and my mash efficiency was crap. Second, I chose to sparge with too much water (10L) for two reasons. Firstly I’d done my calculations assuming there was a 60 minute boil, but of course there was only a 30 minute boil, and I’d assumed a too high evaporation rate during the boil. As a result I ended up with 26.5L of pre-boil wort with an SG of 1.025 at 64C (corrected to 1.040).

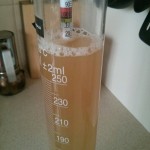
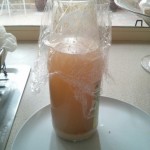
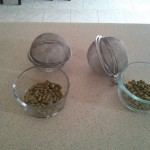
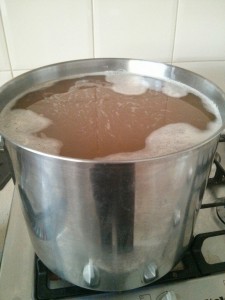
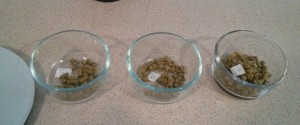
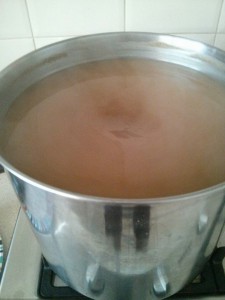
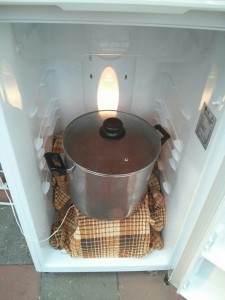
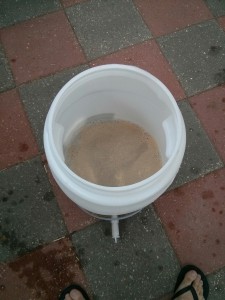
The boil itself went fine, I made my hop additions and at flameout allowed the wort to stand for 10 minutes. I did make use of some new stainless steel hop balls to try to improve wort clarity. At the end of this process I still had 24L of wort left in the pot. The pot, wort and all went into my refrigerator and was brought down to my final pitching temperature of 26C nearly 24 hours later. At that point I took a gravity reading (1.036???) and pitched the S04 yeast that I’d put into a 600mL starter the day before. It all went back into my temperature controlled fridge where fermentation started within 12 hours.

Hop Balls!

Hop Balls!

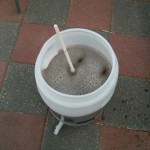
Pitching the Yeast

Pitching the Yeast

Initial Gravity

Initial Gravity

What Went Wrong

So much went wrong with this it’s embarrassing. Firstly my mash efficiency was up the shit, secondly my pre-boil volume was way two high, third I think I got my 10 minute hop additions wrong (they should have been 5 minute additions), and finally there’s something screwy with my SG readings. A corrected pre-boil SG of 1.040 cannot become a gravity of 1.036 post boil. Not actually possible, SG has to go up if you’ve removed water. My post boil volume of 24L is too high, which means the ABV is going to be down, given my usual mash efficiency the final gravity should be about 1.043. The final thing that went wrong was the sheer size of the batch. Everything was too heavy. I did manage but I was nervous handling 30 kilograms of stainless steel and near boiling wort as I lifted it from the ground to my stovetop. And speaking of the stovetop, it struggled to maintain a good rolling boil.

So what will I do different next time? Not sure yet, let’s see how this mid-strength hoppy ale turns out. If it’s crap I will re-evaluate my whole process. If it’s good I might see if I can repeat my mistakes on a smaller 15L batch.

Bulk Priming and Bottling

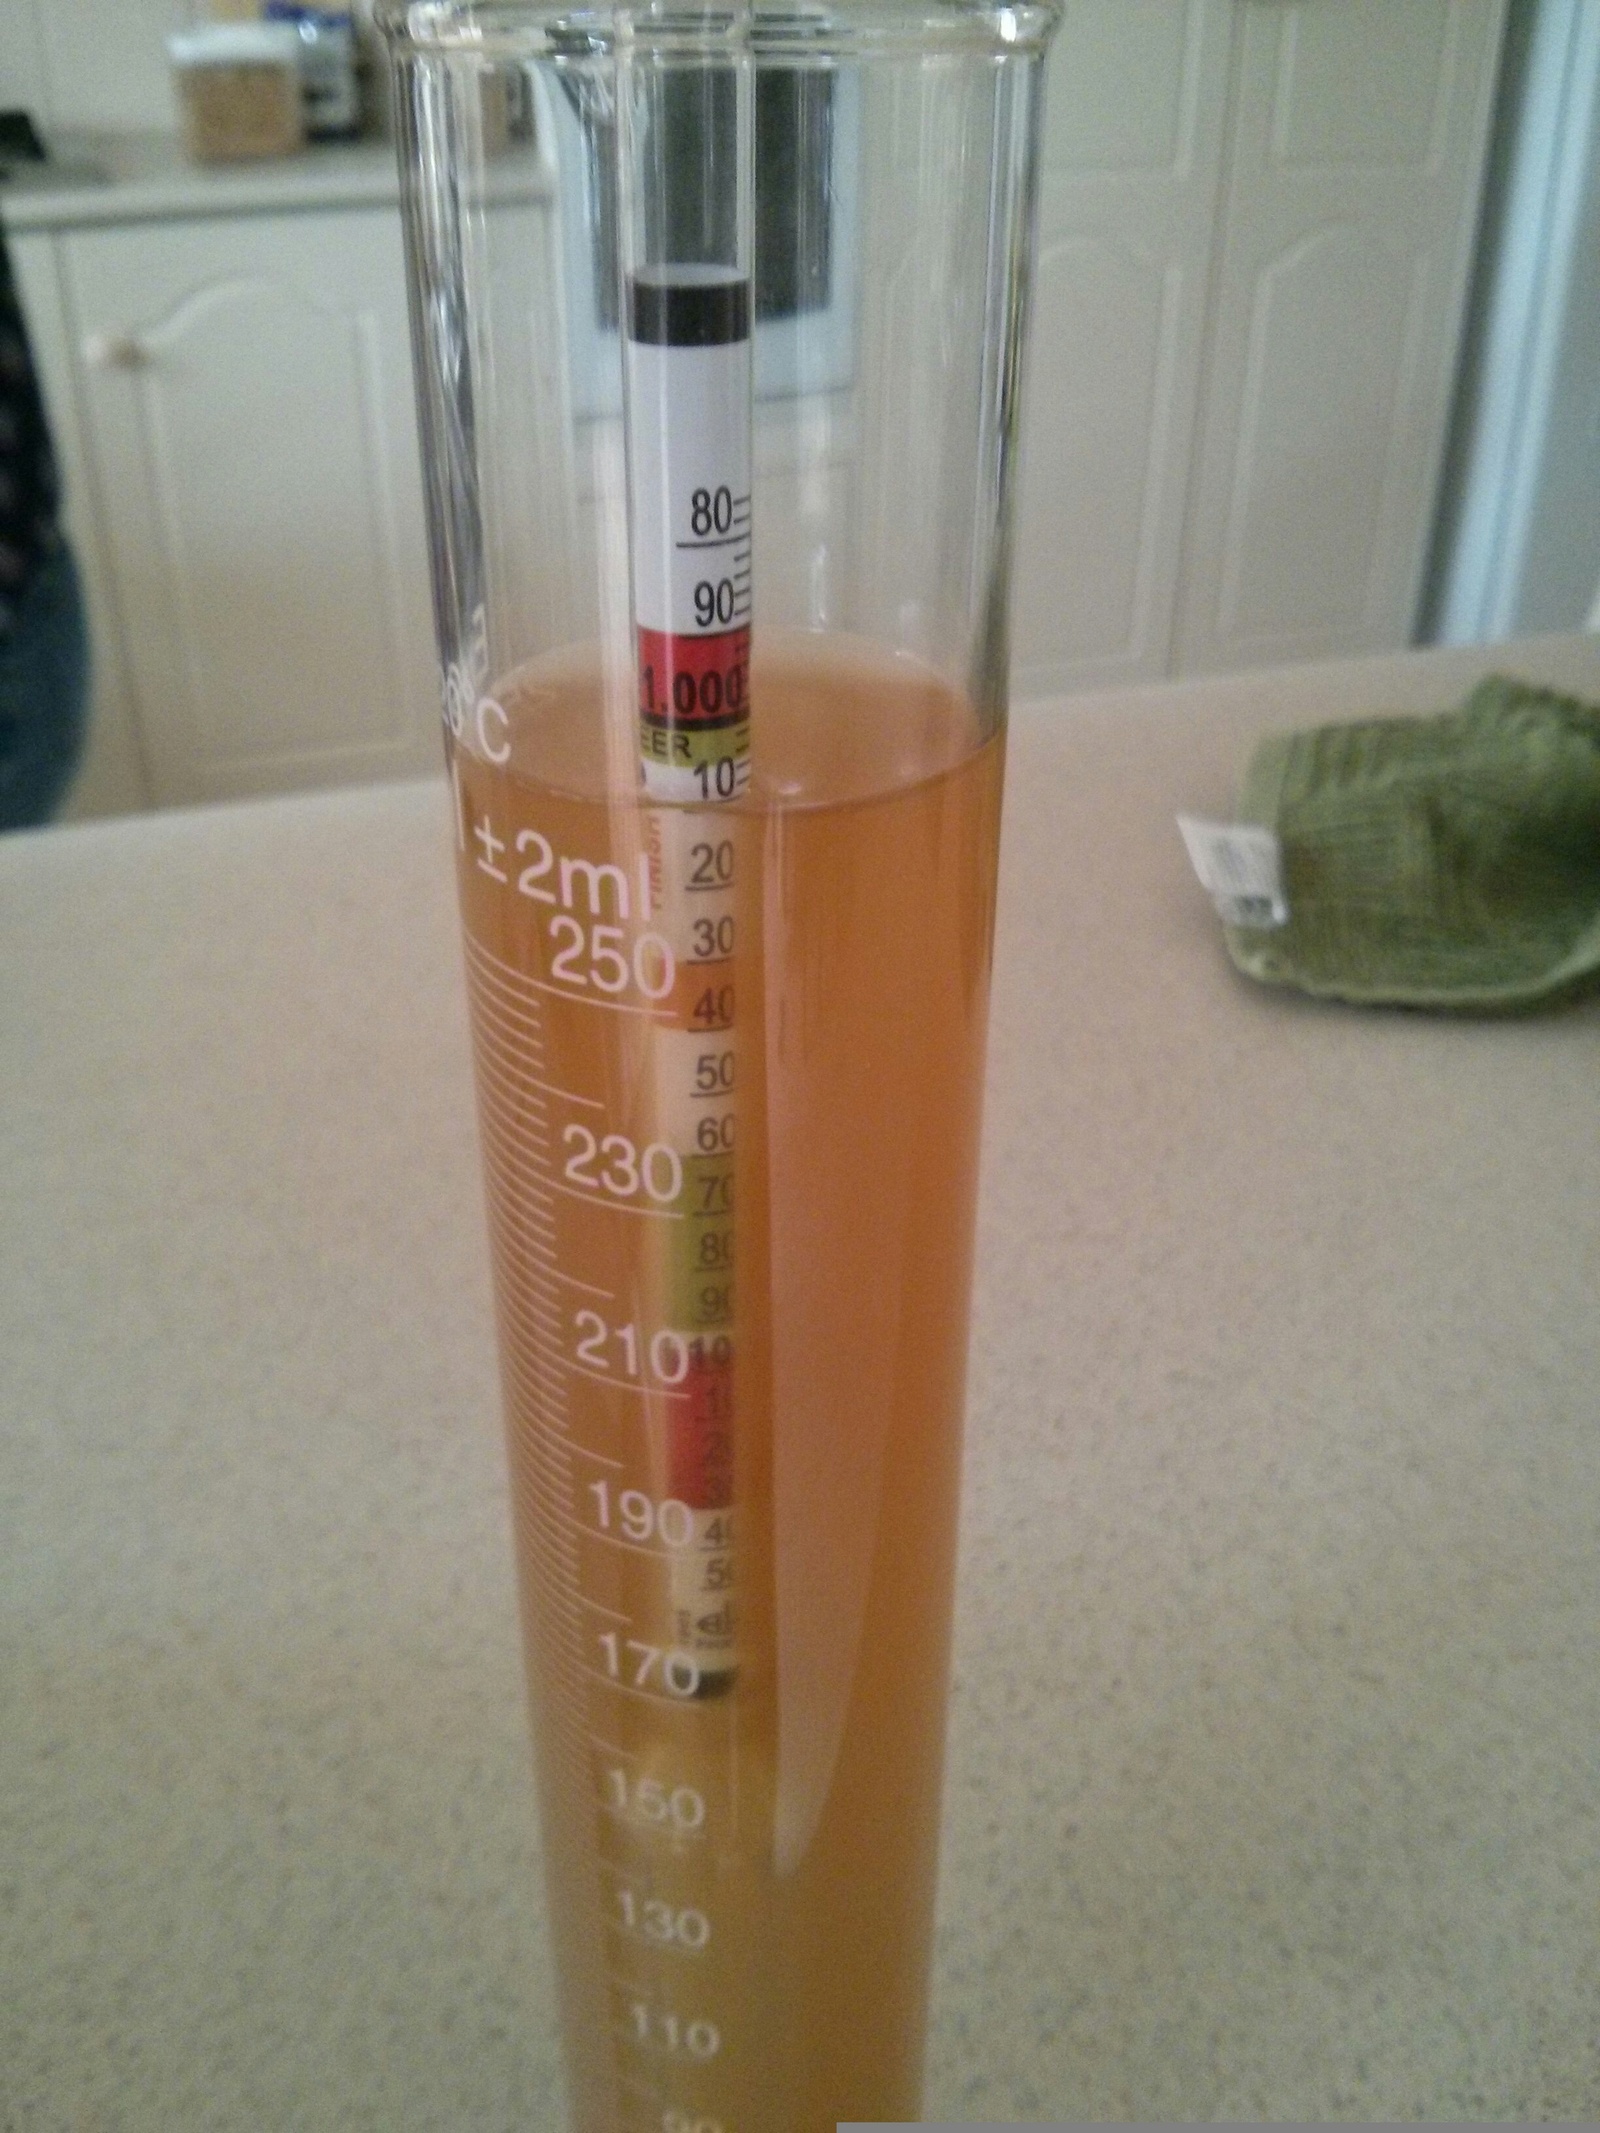
One of my daughters helped me bottle this brew. We ended up almost exactly 30 full 740mL PET bottles (22L of beer) and batch primed with 184g of white sugar dissolved in about 200mL of boiling water. Final gravity (prior to bulk priming) was 1.008 (see below), quite a bit drier than I would have expected.

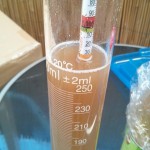
Final Gravity Prior to Bottling

Final Gravity Prior to Bottling

Dual SHA256 / SHA1 Windows App Code Signing

I wrote about digitally signing programs for Windows a few years ago. Microsoft announced last year that windows would no longer trust files signed with the SHA-1 algorithm after 1 January 2017. This causes some problems with older operating systems (like XP SP2 and Vista) as they do not support the SHA256 algorithm for certificates used to sign programs/apps. To maintain compatibility with ealier versions Microsoft suggests dual signing with both the SHA1 and SHA256 certificates. It turns out my certificate (from Comodo and issued in mid-2015) supports both the SHA1 and SHA256 algorithm so it’s not a big hassle for me. However, some older certificates (that have not expired) may need to be re-issued by the issuing authority, some certificate issuers such as K-Software are issuing replacements for free.

Here’s what I had to do to sign my EXE files with both SHA1 and SHA256 versions of my certificate.

1. Download an up-to-date version of the signtool.exe file from Microsoft. Such as this one from the Windows 8.1 SDK.
2. My certificate was installed automatically by Comodo when I purchased it so it needed to be exported to a PFX file. You’ll need to know what the password for your certificate was when you purchased it. There’s a decent tutorial covering this process here.
3. Work out the new commands to dual sign your EXE files. In my case they look something like this.

//Code sign with SHA1
signtool.exe sign /f "c:\path\to\pfx-file\my-pfx-file.pfx" /p mypfxpassword /t http://timestamp.comodoca.com /v c:\Path\To\File\somefile.exe

//Code sign with SHA256
signtool.exe sign /f "c:\path\to\pfx-file\my-pfx-file.pfx" /p mypfxpassword /fd sha256 /tr http://timestamp.comodoca.com/?td=sha256 /td sha256 /as /v c:\Path\To\File\somefile.exe

It’s important to use the /fd and /td switches on the second call to ensure both the file and date/time stamp are SHA256 signed. I actually wrote a little batch file to automate the dual signing of files. I call the file from my various build scripts to sign both my program executables and installers. Here’s that file:

@echo off
echo ************************************************ 
echo Running %0
IF %1=="" GOTO InvalidParameter
IF not exist %1 goto InvalidFile  
echo Signing %1
echo Signing with sha1

"d:\code signing 256\signtool.exe" sign /f "c:\path\to\pfx-file\my-pfx-file.pfx" /p mypfxpassword /t http://timestamp.comodoca.com /v %1

echo Signing with sha256
"d:\code signing 256\signtool.exe" sign /f "c:\path\to\pfx-file\my-pfx-file.pfx" /p mypfxpassword /fd sha256 /tr http://timestamp.comodoca.com/?td=sha256 /td sha256 /as /v %1
echo Signing completed Successfully
goto eof

:InvalidParameter
echo You must pass this script a file to sign
goto eof

:InvalidFile
echo %1 does not exist
goto eof

:eof
echo ************************************************ 

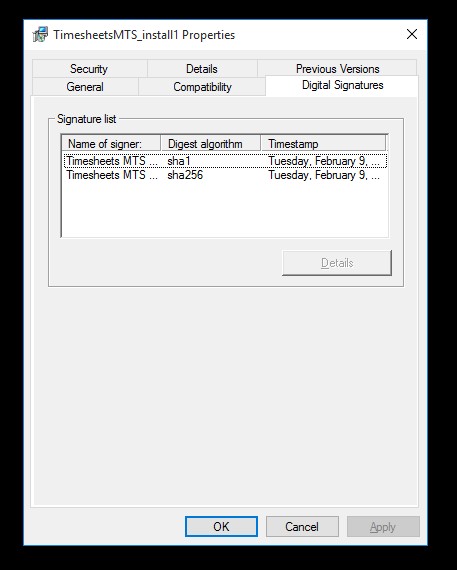
You can easily check if you’ve dual signed correctly from within Windows 10 by right clicking on your signed EXE file, selecting Properties and then clicking the Digital Signatures tab. If it’s done right it should look something like the screen below. Note that both the SHA1 and SHA256 certificates are present.

Dual Code Signed EXE File

Dual Code Signed EXE File

Copy Element to Clipboard Using Javascript

Over the years I’ve built a web based system that controls most of the sales and support aspects for my software. This includes tracking sales, editing sales, supplying customers with registration keys, prompting them to renew support, and so on. There’s also a search interface that allows me to find customer sales details, registration keys, and to check if they have current support. I use this search interface multiple times a day and when I need to find a registration key or need to remind a customer that their support has expired the system outputs the email text I need to send to the customer to the browser window. Then I select it, and paste it into my emails.

This morning I thought it would be really neat if I could cut out the select and copy steps and have JavaScript copy it into the clipboard for me. Last time I checked this (5 years ago) it wasn’t possible without Flash. Now it turns out you can use the Web API that most modern browsers support to do it.

I wrote this little JavaScript function that I can pass a HTML element ID to and it copies the contents to the clipboard.

function copyToClipboard(elem)
{
	//create a new range to hold the DIV to copy
	var range = document.createRange();
	//select the not containing the element to copy
	range.selectNode(elem);
	//clear the current selection
	window.getSelection().removeAllRanges();
	//add the selected range to the current selection
	window.getSelection().addRange(range);
	//run exeCommand to copy 
	document.execCommand('copy');
	//clear the selection
	window.getSelection().removeAllRanges();
}

The key here is the document.execCommand(‘copy’) call which sends the contents of the element to the clipboard so I can paste it into my email tool. Triggering the function is pretty simple with something like this:

document.getElementById('copy-link').addEventListener('mousedown',copyToClipboard("element-id"));

I found a couple of other solutions that copied to the clipboard by copying the element contents to temporarily created <textarea> but the issue with this was that the HTML formatting was not copied. I needed this so that my support emails maintained my standard CSS styling.

Pirate Life Brewing Pale Ale Review

pirate-life-pale-ale

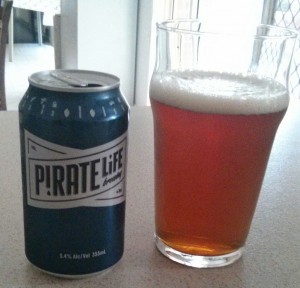
Pirate Life Brewing are a craft brewer with their facilities in my home town of Adelaide, South Australia. They have a small range of beers available at a limited number of retail outlets. My partner went out of her way to find one of those outlets and bought me a can of each of their three products. The first of these that I’ve tried is their Pale Ale which uses ale malt, caramalt, pale crystal, cascade and mosaic hops. Poured into the glass the beer is a little darker than you’d expect a pale ale to be, being a dark amber, it’s not crystal clear (I am not a clear beer nazi) and it very attractive in the glass. The head was nice and white and fluffy but dissipated fairly quickly. The aroma of the beer was muted with passionfruit the strongest character and some pine in there too. The beer itself had an upfront breadiness and a good level of lingering bitterness, on the back of my palate I got some lemon in the aftertaste. The mouthfeel was nice and sharp and crisp, the sort of mouthfeel I’d like to achieve in my own brewing but haven’t managed yet. Overall, a nice beer but perhaps a little too bitter for it to be quaffable in larger quantities. Recommended.

PERL Search and Replace in Multiple Files – Easy as PIE

I help to administer a blog with about 2000 entries.  Previously the site was managed in MovableType but earlier this year we moved it over to WordPress.  At the time we migrated about 30% of the posts to WordPress (the top trafficked 30%).  It was a slow process and as time has gone by we’ve migrated more and more posts  but it’s a time consuming process.  We need to create the new WordPress post, put a 301 redirect in place and then manually delete the old MovableType post.  And by manual deletion I mean deleting the actual HTML file that MoveableType created for that post.  You see, MovableType produces static files for each and every post, archive page, and index page.  This is a blessing and a curse, it means that the load on the web server isn’t large on heavily trafficked sites, but it also means maintaining a legacy site is a PAIN IN THE A**.  It’s actually such a pain that I have given up with MT itself and now I am working with the static HTML files directly.

This week I needed an easy way of doing a search and replace in all the legacy HTML files, all 2000 or so of them.  It needed to be recursive and ideally it needed to happen without me needing to FTP all the files to a local computer and then FTP them back.  I have command line access to the server the blog is on so I checked to see if PERL offered a way to do what I wanted working on the files in situ.  As it turns out it’s pretty simple.  I wanted to find and replace all internal links that used the old domain name (did I mention this site just changed domain names) with the new domain name.  The PERL command to do this with all the files in a single folder is like this:

perl -p -i -e 's/oldstring/newstring/g;' *.html

The -p means the script we’re running will be put through the C pre-processor before PERL compilation. The -i option means that PERL will edit the files in place. The -e option allows the running of PERL commands from the command line (it doesn’t look for a script file). The actual PERL operator s is the substitution operator while the he oldstring and newstring are regular expressions so special characters need to be escaped appropriately. And finally the operator /g means the command will do a global match. So to replace my URLs I needed something like this:

perl -p -i -e 's/www\.old\-domain\.com/www\.new\-domain\.com/g' *.html

The issue with that is that I needed the script to process sub-directories recursively to search and replace in all the HTML files. That could be done in a few different ways, the immediately obvious were chaining with FIND or GREP. I chose FIND and ended up with a command that looks like this:

perl -p -i -e 's/www\.old\-domain\.com/www\.new\-domain\.com/g' ' `find ./ -name "*.html"`

Ran that from the ubuntu commmand line and thousand or more files were processed in under a second. Very cool.

Brew Day 12 – Reddit /r/HomeBrew Collaboration APA

I often frequent the /r/HomeBrewing sub-reddit and over the last few weeks a member has been developing an APA recipe based on feedback from the sub-reddit subscribers. You can view the recipe here, it’s a pale ale using 2-row, Maris Otter, some oats, and hopped with Warrior, Amarillo, and Citra. As I mostly brew in isolation (apart from my lovely partner who is amusingly tolerant of my brewing fascination) I thought it would be fun to take part in the group-think and have a go at the recipe myself. However, I wanted to try a no-chill (which seemed to work really well last time) and a shorter boil. Aim was to be done with brew day in about 2 hours.

I had to scale down the recipe for my usual 12.5L size (the recipe calls for 5.5 gallons) and adjust the hop schedule to account for the no-chill approach. I’ve done quite a bit of reading in the last few weeks and the rule of thumb suggested is that flame-out additions for no chill should be counted as 10-15 minute additions. The recipe was constructed in the very handy BIAB Beer Designer spreadsheet.

Ale Barret Burston 2 Row 2.04kg
Ale Maris Otter 0.58kg
CaraPils 0.14kg
Caramalt Malt (50EBC) 0.14kg
Oats Flaked 0.14kg

Magnum 9g (12.7%AA) @ 30 minutes
Amarillo 5g (9.5% AA) @ 5 minutes
Citra 5g (13.2% AA) @ 5 minutes
Amarillo 13g @ Flameout
Citra 13g @ Flameout
Amarillo 35g Dry Hop 3 days
Citra 44g Dry Hop3 days

SAFALE US05 Yeast

Ingredients

Ingredients

Brew Type : 12.5L All Grain (BIAB)

OG: 1.052
FG: 1.014
ABV: 5.0%
IBU: 19.9
EBC: 11.4

You’ll note that the IBU’s are just under 20, but if you dial in the 5 minute and flameout additions as 10 minute additions you arrive at 42IBU which is right on what the original recipe calls for. The logic for this may be a little flawed as I suspect the 5 minute additions should really be considered as 15 minute additions but the proof will be in the tasting.

Brew Day (21 November 2015)

The evening before I filled my brew pot with 10L of water and my sparge pot with 7L of water and left them sitting to allow for any volatiles to evaporate overnight.

Heating Strike Water

Heating Strike Water

1. Brew day started at 6:40AM when I brought 10L of water to strike temperature of 71C with grain bag lining pot.

2. Added grain bill, stir to ensure no dough balls.

Mashing In!

Mashing In!

3. Took temperature of mash (69.0C) replaced lid on pot, and wrapped pot in doona/blanket for 60 minutes to mash.

There's Wort in There

There’s Wort in There

4. Bring 7L of water to 75C in another pot.

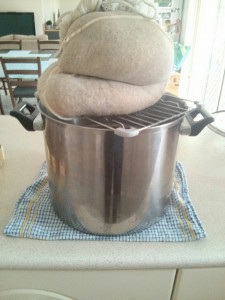
5. At the end of 60 minutes unwrap pot, take temperature again (68.0C). I drained the bag on a wire rack suspended over the brew pot for several minutes.

Draining the Bag

Draining the Bag

6. Sparged the bag with the 75C water until there was a litre or two left and put the bag in the sparge pot and let it rinse out the last of the wort.

Bringing Wort to the Boil

Bringing Wort to the Boil

7. At this stage I had 13L of wort in the brew pot. I took a gravity reading (1.037 @ 61.5C), added a few drops of FERMCAPs to stop boil-overs and brought it all to the boil.

Hop Additions

Hop Additions

8. Hop additions were made when the boil started (Warrior), 25 minutes (5g of Citra and Amarillo) and at the end of the 30 minute boil (13g each of Citra and Amarillo). At this point I whirlpooled the wort for 10 minutes.

Whirlpooling at Flameout

Whirlpooling at Flameout

9. Once that time was up I put the pot into my pre-chilled fridge to bring the temperature down to pitching temp (19C). I expected that to take about 12 hours and aimed to pitch my yeast the next morning. At this point it was 9.20AM, 2 hours and 40 minutes since I’d started. In that time I’d brewed the beer, showered and breakfasted, and answered my morning work emails. Generally I was pretty happy with how short the whole exercise was.

Hot Wort Cooling in Fridge

Hot Wort Cooling in Fridge

10. (Morning of 22 November 2015). I drained the wort into my sterilised fermentation vessel trying to leave as much hop residue as possible in the brew pot. I had to top it off with about 2 liters of cooled boiled water to get my 12.5L volume. I took a gravity reading (1.053) and temperature reading (19C). Aerated thoroughly with a large (sterilised) plastic spoon and pitched my yeast. Filled the airlock with steriliser, put the lit on the FV and put it in my fridge with a set temperature of 19C.

Yeast is Pitched

Yeast is Pitched

Generally I was happy with the day, my mashing temperature was a little high but it doesn’t seem to have effected anything as I achieved my usual efficiency and just missed the target OG by one lousy point. The wort was a very pale green/gold, without doubt the palest wort I have made to date. Not sure if this was a product of the grain bill or the shorter boil. I certainly liked the shorter boil time, however the longest periods of inactivity (other than the mash) was spent waiting for the strike water to heat up and bringing the wort to the boil. That idle time is only going to be solved by getting a bigger gas burner which isn’t on the cards any time soon.

Mash Efficiency

I did my mash efficency calculations in Excel, and got my usual efficency of 70%.

Kg Potential Pounds Potential Points
Ale Barret Burston 2 Row 2.04 1.038 4.49 49.59
Ale Maris Otter 0.58 1.038 1.28 14.10
CaraPils 0.14 1.033 0.31 2.96
Caramalt Malt 0.14 1.034 0.31 3.04
Oats Flaked 0.14 1.037 0.31 3.31
Potential 73.00
      Actual 51.00
      Efficency 69.9%


Schofferhofer Hefeweizen Review

Schofferhofer Hefeweizen

Schofferhofer Hefeweizen

To the left you can see a bottle of Schofferhofer Hefeweizen, an unfiltered German wheat beer. As you can see the beer is a cloudy orange gold colour and had a nice finely bubbled head. On the nose it is earthy and a bit funky, no doubt due to the use of some sort of noble hop. It has a metallic rounded taste (which I assume is the wheat used in the grist) with a lingering breadyness in my mouth at the back once the mouthful is complete. Bitterness is not particular strong and I don’t sense any real hop flavour. I’m not sure I’m enjoying the glass too much and don’t think I’ll rush out to brew this style just yet.

Reading some online reviews of the beer there’s mention of banana and cloves but I get none of that. Compare that with the Weizen Doppelbock I had at Redoak Brewery last month which was the most strongly banana flavoured thing I’ve ever had that wasn’t actually a banana.

4 Pines Brewing Kolsch Review

4 Pines Brewing Kolsch

4 Pines Brewing Kolsch

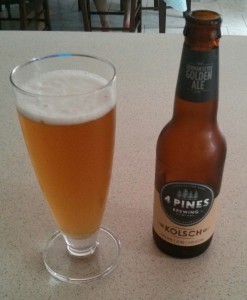
I’ve been looking for a style of ale to brew for the summer months and a kolsch is among the styles I was considering. Given that I’ve never actually had one I thought I’d give it a try and found a Kolsch marketed as a German Style Golden Ale by 4 Pines Brewing of Manly in Sydney. The beer was remarkably clear with a rich golden colour and only a thin head that dispersed quite quickly. On the nose it was earthy with perhaps a slight hint of pine. On the palate it was faintly malty with a nice bit of refreshing bitterness but not particular dry. After taste was a little spicy with lingering bitterness. I certainly drank it quickly enough on a hot day so I’ll call it quite quaffable. The ABV of 4.7% means I could have a few without feeling the need to dance on a table for my own amusement. It’s certainly a style of beer I’ll look at brewing myself.

wpDataTables Filters in WordPress

I’ve started using wpDataTables for data driven tables in WordPress. The ability to have a table linked to an Excel spreadsheet is neat and the automagically formatted tables that use the jQuery Data Tables plugin are nice too. I needed to tweak few things though. First, center align the table titles. Easy enough using the wpdatatables_filter_rendered_table

add_filter('wpdatatables_filter_rendered_table','my_filter_rendered_table');

function my_filter_rendered_table( $table_content, $table_id )
{
	$content=$table_content;
	$content=str_replace('<h2>','<h2 style="text-align:center;">',$content);
	return $content;
}

The second issue I was having was with URL Link Columns. These are driven from an Excel spreadsheet by separating the URL and the link text with two pipe (|) characters. Something like:

http://someniftysite.com||Nifty Link Text

In the case of the data I was displaying some of the cells would need links and some wouldn’t. Trouble was wpDataTables appears to render every value in a URL Link Column as a link whether you pass it a URL or not. In fact, it uses the Link Text as the URL if you omit the URL. Instant broken links, yuck. No problems, I thought initially, I’d just use the provided wpdatatables_filter_link_cell filter to grab the URL links, parse out the URL and the link text and just return the link text if the URL was invalid. Pretty easily done with a bit of regex like:

	$url=preg_match('/href="(.*?)"/', $link, $url_matches);
	
	$link_text=preg_match('/>(.*?)<\/a>/', $content, $link_text_match);

It worked beautifully for the Link Text but rather frustratingly preg_match stubbornly returned 0 (no match) for the URL no matter what I tried. Even when I VAR_DUMP’ed the link it appeared that the preg_match should work. But it didn’t. In the end I used substr to echo back the link one character at a time and hey presto, wpDataTables was wrapping the href parameter in a single quote rather than a double quote. When I echoed the value to output using VAR_DUMP the browser (un)helpfully replaced the single quotes with double quotes. Grrrr. Anyway here’s the code that worked:

add_filter('wpdatatables_filter_link_cell','my_filter_link_cells');

function my_filter_link_cells($link)
{
	$content=$link;
		
	$url=preg_match("/href='(.*?)'/", $link, $url_matches);
	
	$link_text=preg_match('/>(.*?)<\/a>/', $content, $link_text_match);
			
	if (strpos($url_matches[1],"/")===false || strpos($url_matches[1]," ")!==false)
	{
		$content=$link_text_match[1];			
	}
	
	return $content;
}

Now my tables displayed links for values that actually had a proper URL and just text for those that didn’t. Yay.

wpDataTables seems pretty good, it isn’t free but $29 seems like a decent price for something that has worked pretty much exactly as advertised and has a tonne of features. Recommended.

Brew Day 11 – APA Version 3

It’s 1-all in the all grain BIAB competition, my first BIAB pale ale is awesome, my second not so much.  I was keen to replicate the last brew with better quality grains, a bit more hops, and (hopefully) better mash temperature control.  However my LHBS of choice seems to be pretty much out of every malt I can think of so I’ve had to come up with an alternate recipe.  I know that’s not scientific but hey, it’s coming up to summer and beer is running short!

Pilsner Malt (3.7EBC) 2.6kg
Bairds Pale Crystal 0.15kg (what I’ve got left)
Munich II Malt (24EBC) 0.35kg
13g Magnum @ 60 minutes (12.7%AA)
18g Cascade @ 10 minutes (5.6%AA)
12g Cascade @ Flameout for 10 minutes (5.6%AA)
14g Cascade, dry hop after 7 days for a week
Danstar Nottingham Ale Yeast

Brew Type : 12.5L All Grain (BIAB)

OG: 1.054
FG: 1.014
ABV: 5.6%
IBU: 36.6
EBC: 15.9

The logic behind this recipe goes something like this:

  1. Pilsner should be nice and light and give a drinkable beer in hot weather.
  2. The Pale Crystal in the cupboard and I may as well use it.
  3. I like the malt hit the Munich gave me in my last brew so I’ll try it again.
  4. A few grams more Magnum up front for more bitterness and dry hopping (for the first time in a BIAB brew for me) to get some nice hop aroma.
  5. Nottingham Ale Yeast because it has a reputation of good attenuation and I’ll still like a dryer beer for the hotter weather.

Brew Day (31 October 2015)

The first thing I did a couple of days before the brew was to split the Nottingham Ale Yeast into equal parts and create two 500mL/100g DME starters in sterilised glass jars. Once those had done fermenting (24 hours) and allowed to settle I carefully drained off the expended wort leaving the creamy yeast at the bottom and topped them off with boiled water. Both were stored safely, one to be used with this brew, and the other for the next.

On brew day I followed my usual method as follows:

1. Bring 10L of water to strike temperature of 71C with grain bag lining pot. I used 10L of mash water gain to get more thermal mass to stop heat loss during the mash process.

2. Add grain bill, stir to ensure no dough balls.

3. Took temperature of mash (67.5C) replaced lid on pot, and wrapped pot in doona for 60 minutes to mash. I noted that the temperature was dropping rather quickly so after 10 minutes I put the pot back on the heat. I was standing on the doona and noted it was quite cold. Drawing the conclusion that one layer of doona under the mash pot was just not insulating it enough (heat escaping into my tiled/concrete floor) I doubled the bottom layer and put the pot back into it’s blankie.

4. Bring 7L of water to 75C in another pot.

5. At the end of 60 minutes unwrap pot, take temperature again (65.5C). I drained the bag on a wire rack suspended over the brew pot for several minutes.

6. Sparged the bag with the 75C water until there was a litre or two left and put the bag in the sparge pot to sit for a few minutes before squeezing the whole lot and trying to extract as much sweet wort as possible.

7. I’d managed to almost fill the whole 15L pot at this stage with 14L of wort. I took a gravity reading (1.037 @ 54.0C), added a few drops of FERMCAPs to stop boil-overs and brought it all to the boil.

8. Last brew I made little muslin hop bags but they didn’t seem to affect the clarity of the brew so I didn’t bother this time. Once boiling I made the hop additions at 60, 10, and 0 minutes. At the end of the boil I had 12L of wort left (2L loss).

9. It’s at this point that I’d usually be cooling the wort in an ice bath but I couldn’t be jacked. The whole pot was put in my fermentation fridge and chilled overnight to 18C ready for pitching in the morning. I suspect this will lead to less clarity in the beer but I am fairly certain I don’t mind drinking cloudy beer so I am happy with the lower amount of effort involved.

10. (Morning of 1 November 2015). The wort was at 18C so I drained it into my fermentation vessel through a strainer leaving me with 11L of wort which was then topped off with cooled boiled water. I took a gravity reading (1.053 @ 17.7C), aerated with my giant sterilised spoon and pitched the Nottingham Ale yeast starter that I’d prepared earlier. The FV then went into my fridge with a set temp of 18.5C where it’ll sit for 10 days before I dry hop.

Overall I’m happy with how the day went. I almost hit almost all my numbers just missing the OG by a little and maintaining a nice constant mash temperature. Not having to chill the wort was great and I’ll be interested to see what impact the over night chilling had. If the beer is of the quality of my first BIAB effort I’ll be more than happy!

Mash Efficiency

2.6KG of Pilsner malt has a potential of 1.038 points per gallon. I’ve got 5.72lb of grain in 3.7 (14L) gallons of water so the potential for the GP is 58.7 points.
0.35KG of Munich II malt has a potential of 1.037 points per gallon (0.35*2.2*37/3.7) and 0.15kg of Bairds Pale Crystal has a potential of 1.035 points per gallon (0.15*2.2*35/3.7). That’s 7.7 points for the Munich II and 3.1 points for the crystal.

Total potential is 69.5 points and with a measured pre-boil (and temperature corrected) gravity of 1.048 the mash efficiency was 69.0% (48/69.5) which is very similar to my last two all grain BIAB efforts.

Update 7/11/15

Took a gravity reading, 1.012. The sample was much darker than I expected and was extremely cloudy which is probably a result of the no chill approach I took to wort. Taste was perfectly good. Will make dry hop addition tomorrow (14g Cascade) and plan to cold crash on 12/11/15 in the AM before fining with gelatine on the evening of the same day. Allow 48 hours to clear and bottle next Saturday (14/11/15).