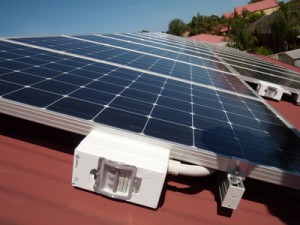
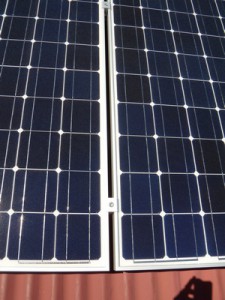
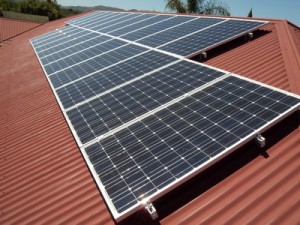
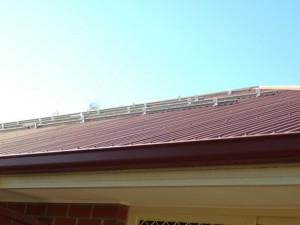
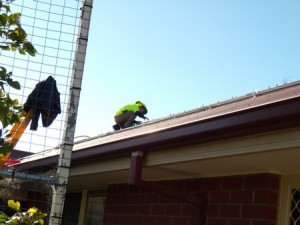
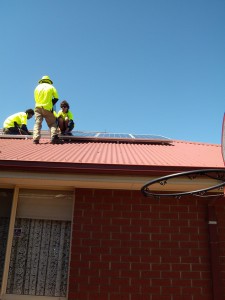
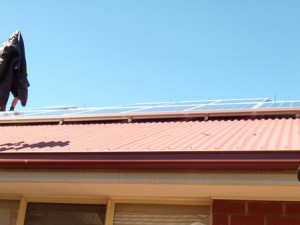
I finally clambered up onto the roof yesterday to take some pictures of the panels mounted on the roof. I have to say that the install was very neat and tidy, everything was square and straight and there was no rubbish, screws, cut wire or any other junk left up there. You can see the images below.
Category Archives: Green Tech
The Rooftop Solar System – 1 Week Later
It’s been a week since a 4.18kW solar system was installed on our roof and I thought it would be nice to document what it’s done in these seven days. The Suntech solar panels, the Sunny Boy inverter, and our good friend, the sun, have teamed up to generate 139.39 kWh. The good people of my house (myself among them) consumed 40.79 of those kWh during daylight hours resulting in a net export into the South Australian electricity grid of 98.6 kWh. In the times where the solar system output did not exceed our power consumption (for example at night when solar power generation tends to be….sub-optimal) we’ve drawn 41 kWh from the power grid. By my calculations (and neglecting the fixed electricity connection costs) we’re about $40 in credit in our first week of solar power generation. Not too bad at all.
Rooftop PV System Installation – The Roof
This is the third set of images from the installation of our rooftop photo voltaic system. This time it’s just some images of the railing system used on our roof to hold the solar panels. Nothing too exciting, I still have to get up there and take some close ups of the finished product. In the meantime, enjoy.
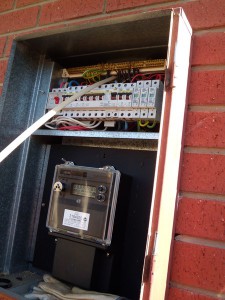
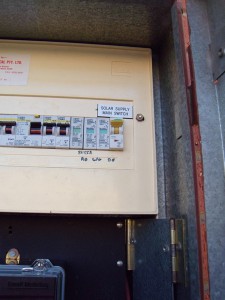
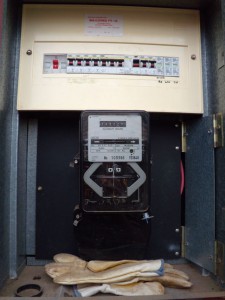
And just for giggles here’s a picture of the meter box in a state of undress…..
Rooftop PV System Installation – The Inverter
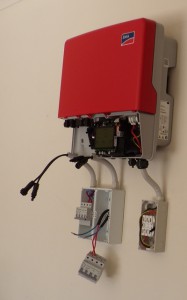
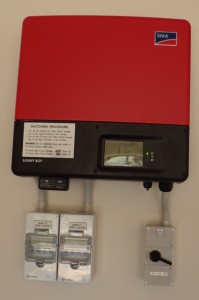
This is the second set of images I took of the installation of our rooftop solar energy system that was installed a couple of days ago. This time all the images are of the inverter, the bit that converts the DC (direct current) power generated by the solar panels into AC (alternating current) power suitable for use in our house or for feeding back into the power grid. I decided on Sunny Boy inverter because they have a reputation for being reliable and efficient. No point skimping here, I just wanted something that worked and worked well. Our unit is a Sunny Boy STB 4000TL which has a nominal 4.2kW capacity, a nice digital display and Bluetooth communications for remote monitoring. These units are made in Germany and from what I’ve read are one of the most reliable inverters on the market today.
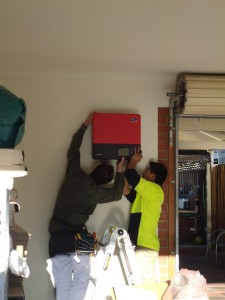
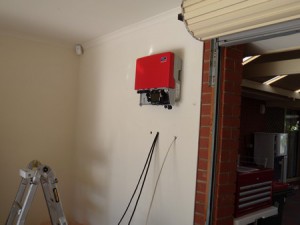
We decided to have our inverter installed in the garage for security reasons and to keep it out of the weather. The wall in there is a simple gyprock (dry wall to most people) clad stud wall so installation was pretty simple. Below you can see the inverter in various states of installation.
Rooftop PV System Installation – The Panels
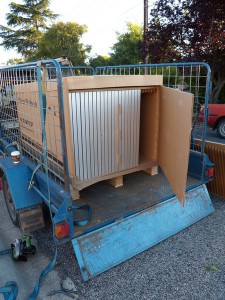
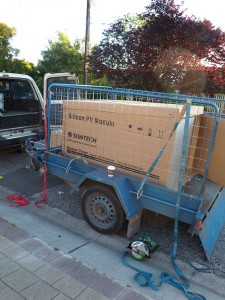
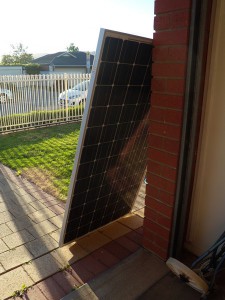
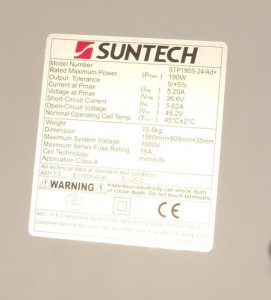
The 4.18kW rooftop photovoltaic system was installed yesterday. The installers arrived at 7:00AM and were done by 1:00PM. Luckily a couple of extra installers arrived at 11:30AM or so which meant the system went up a bit quicker than expected. I took a lot of images and have decided to post them up in separate entries. Today I’ll post some images of the panels. We’ve got 22 Suntech STP190S-24/Ad+ (mono-crystalline 190W) panels arranged in two rows on our roof. Electrically they are connected to our inverter (a Sunny Boy 4.2kW unit) in two strings of 11. Below are some images of the panels prior to their installation on the roof.
Our Solar System is Installed!
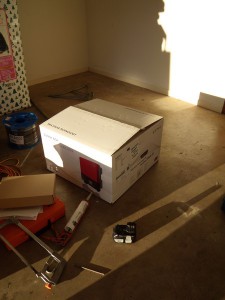
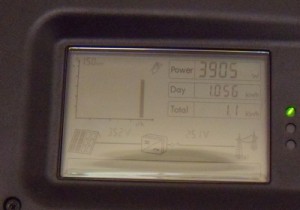
The installers finished up at about 1:00PM today and our shiny new solar system has been happily generating power this afternoon and I’ve been monitoring it via bluetooth and the “Sunny Explorer” software. More on that later. In the mean time here’s some images of the parts of the system that are not on the roof.
Rooftop Solar PV System is Go!
It’s 7:00AM and the Braemac solar installers are here right on time to install our rooftop PV system. I’ll take some photos and post them up as time permits.
The Old Power Meter is Dead. Long Live the New Power Meter!
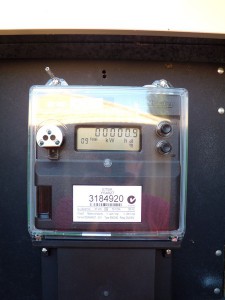
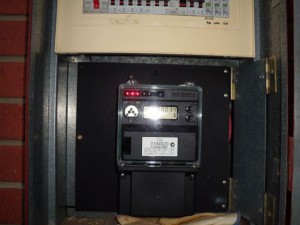
We arrived home after running errands all day and to my delight ETSA had been and changed the old power meter to a new import/export meter (which you can see above). It’s a 3 phase Email unit with a neat digital readout and some inviting looking buttons that are just asking to be pressed. The red LED’s are a nice touch too. Sadly all these buttons, displays and shiny red lights are going to cost us north of $600.
Vale Old Power Meter
Rooftop Solar PV Install is Booked
I hadn’t bothered calling Braemac about an install date for our rooftop PV system because I suspected that they would be crazy busy with the run up to the September 30 FIT cut-off deadline. I emailed them this morning at 9 asking about an install date and got an answer back within 10 minutes offering me three different dates that were just two weeks away! So it’s booked in for installation on the 18th of October. Kudo’s to Braemac for being on the ball and answering my email so quickly.

